Building Authentication Service with TOTP (Time-Based OTP) Part 2. The Client
If you haven’t read the first part, I highly recommend to check first.
Series
- Building Authentication Service with TOTP (Time-Based OTP) Part 1. The Server
- Building Authentication Service with TOTP (Time-Based OTP) Part 2. The Client
Optional Requirement
Goal
In this part two of the series we are going to build a client using HTML and javascript (jQuery). The finished product will be 2 pages one for login and the other for registering.
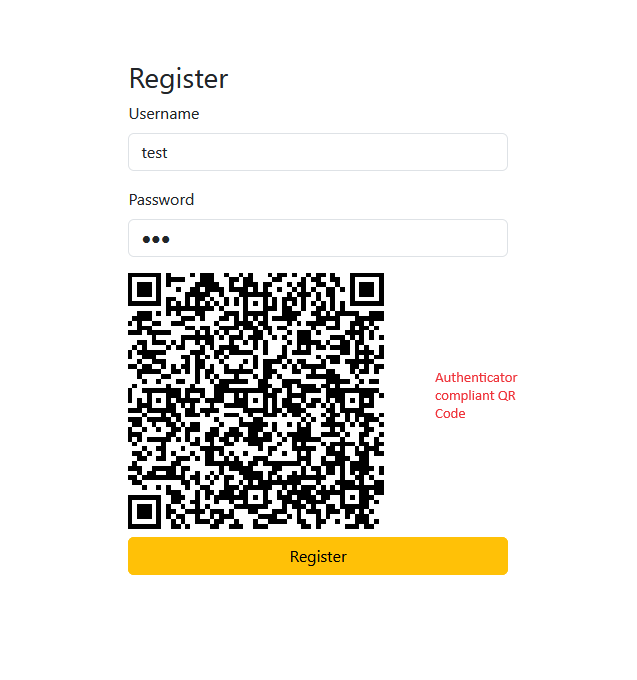
In the register page, when the user successfully registers the page will show a QR code that will later be used to generate TOTP Token.
When the user wants to log in, they will have to provide a TOTP Token that’s generated through third-party application such as Google Authenticator or using a browser plugin such as this.
The Client
Our project structure will look like this
1 | ├── index.html |
index.htmlwill be the login pageindex.jswill contain a script for loginqrcode.jsis a library to generate qr code.register.htmlwill contain the register page and show the QR for authenticator
The most important part is in register.js, after a user successfully registers, the page will show a QR code with a URL that complies with authenticator stardard
1 | otpauth://TYPE/LABEL?PARAMETERS |
example
1 | otpauth://totp/UserName1:test@google.com?secret=JBSWY3DPEHPK3PXP&issuer=MyCompany |
1 | //register.js |
You can see the full code here
You can run both applications by running these commands
1 | # starting the server - port :8081 |
Try registering in localhost:8080/register.html
you will get a QR code

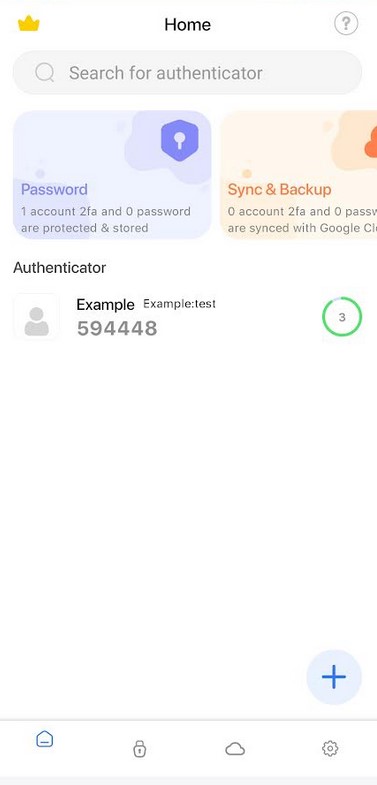
and use your authenticator of choice, I am using Authenticator App

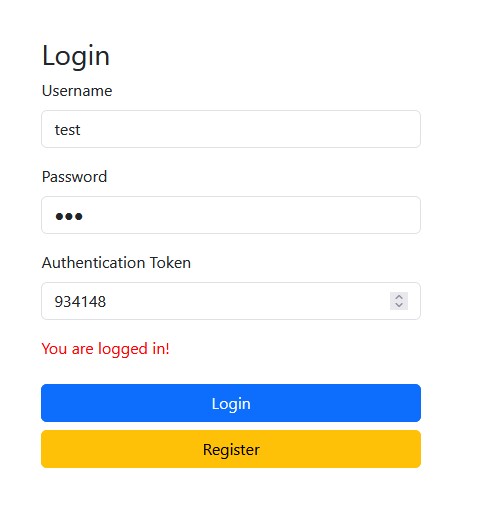
Now when you log in you can input the code that you get from the authenticator.

Conclusion
TOTP only provides one extra layer to your authentication, it’s still best to keep in mind other aspects of security.
The benefit of using TOTP is relatively easy to set up and is widely used by large systems such as Git Hub.


![Realtime Data with MariaDB and Websocket [Part 2]](/images/realtime_db.svg)
![Realtime Data with MariaDB and Websocket [Part 1]](/images/realtime_bg_1.jpeg)
